


LAYERS LAYERS LAYERS!
I created this tutorial for Color Combos Galore, so I'm putting it here too for you all to enjoy, or better yet, come join us for a color challenge and some great tutorials at CCG!
I am consistently inspired by scrapbookers and cardmakers who can lay on the layers, thereby adding incredible amount of details and “hot spots” to look at more closely. Would you like to add more detail to your layouts and create layers of interesting elements? Then read on. It’s not rocket science, but it is finding your “eye” for balance and design.
THE IDEA:
This tutorial is all about the layers, which helps to add detail and dimension to any layout. Just think about it like stacking your supplies, but making sure you can see some elements of each layer.
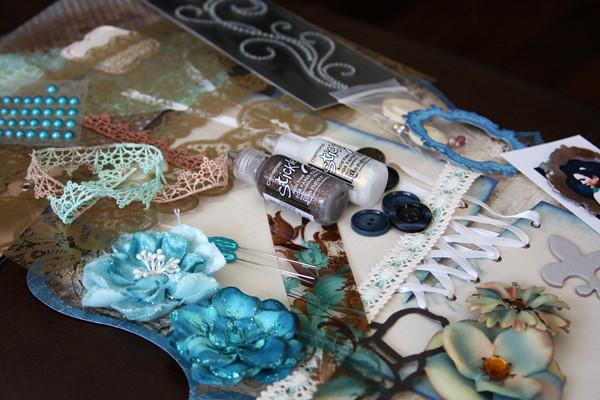
STEP 1:
Gather your supplies. Start with the base papers and cardstock, and then find scraps of coordinating papers. Gather some ribbons and lace, maybe 2 or 3. Look for matching items like pins and buttons, crystals, and overlays. Then scour your supplies for chipboard, letters, flowers, tools (punches and paper distressing tools), and stickles. You may not use it all in the end, but putting it all together in a pile in front of you will help you through the layering process.
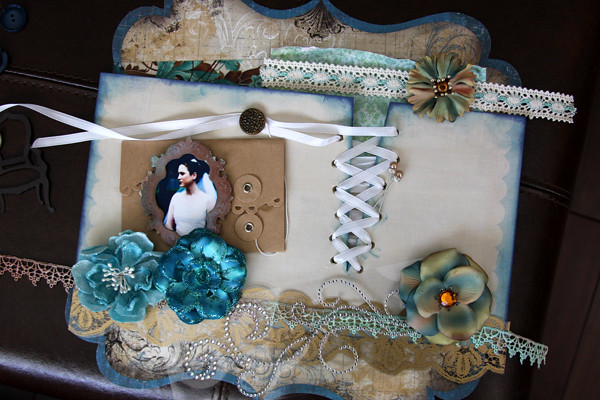
Now that you have placed all your supplies in front of you, start planning your layout. Create a line across your page that will become your “layer line” and strong focal point.
STEP 3:
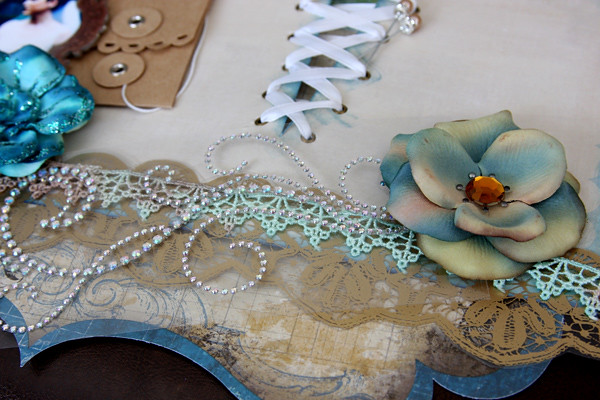
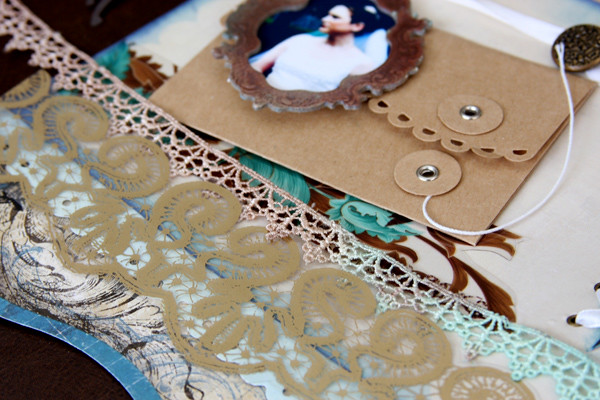
Play with your layers, change it up, add, take away, play until you are happy with the level of detail. In the example above, I started with the BASE paper, then played around with the gold overlay, the lace, crystals, and flowers. But I felt it needed something a little more, so I looked for a paper that I could slip underneath somewhere. When in doubt, add a coordinating patterned paper piece. To add dimension, distress the paper, crumple it, mist it, tear it, or punch it.
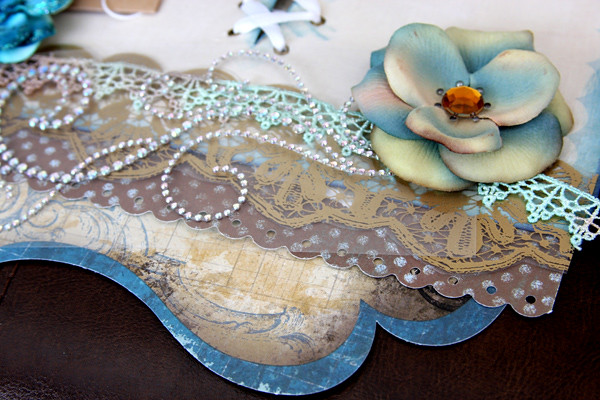
Here I added some brown paper which I punch with a SCALLOP punch, but didn’t quite like it, so I flipped it over to its blue side for a lighter more airy feel.
STEP 4:
Settle on your layers, think about cohesiveness:
1. …does it look like each element belongs?
2. …do these layers look beautiful together?
3. …is there anything I could add to make it better (think buttons, flowers, title, pins, etc?
STEP 5:
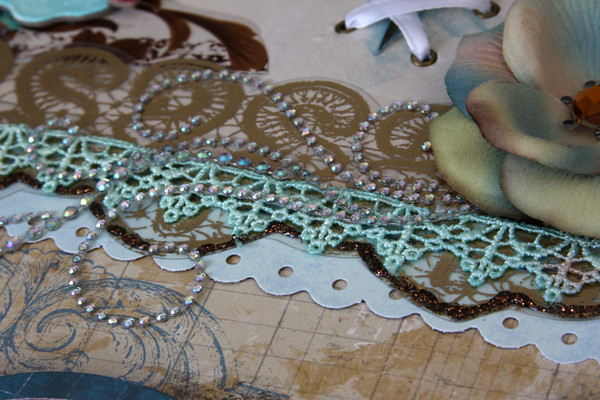
Glue down all your layers and when it is all adhere to the layout, think about adding some stickles here and there for EXTRA detail.

Complete your layout by adding all other elements and photos.
LAYERING TIPS:
Great supplies for BASE layers are:
• Ribbons (lace and velvet)
• Papers (crumpled, distressed, misted, punched)
• Overlays/Transparencies
Great supplies for TOP layers are:
• Crystals
• Stickles
• Gems
• Chipboard
• Flowers
• Buttons
• Letters
• Pins
The BEST tip is to scour your supply room in advance looking for items in the Color Combos Galore color palette of the week!
A stunning focal point needs detail – so think about layering AT LEAST 5 items.
Have fun creating gorgeous pieces of layered ART!
Lesley


2 comments:
Thanks so much for the great ideas, I've shared the link to your blog on my blog. I find your ideas and work very inspiring! : )
wow- your work is just gorgeous and I have the Maya road envies- thanks for the inspiration to use them! :)
Post a Comment